Synopsis
This page describes how you can analyze your data. This is done in so called "pipelines". After reading this page, you will have understood how this works. In the beginning we give a short presentation about how to start an analysis of your arrays. This introduces the basic concepts. Afterwards we explain some more details about the pipeline application, like parameter adjustment and function configuration.
A short introduction
| Analyze Arrays - the easy way:
|
| 1.
|

|
Start to analyze your arrays by clicking on the link in the Basic Actions menu in the experiment overview
|
| 2.
|

|
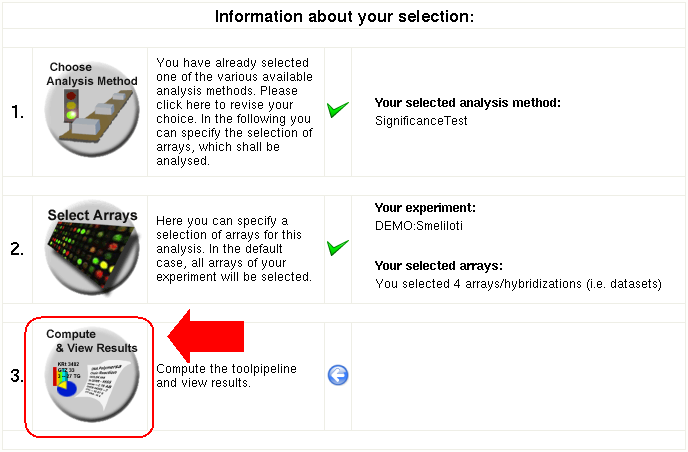
At first you have to select the analysis method you want to perform, e.g. Normalization or Significance Test
|
| 3.
|
|
Now you can just hit the "Compute and View Results"-Button and your selected analysis pipeline will be performed
|
Advanced options
Further on, there are of course a lot of adjustable parameters. This begins by the number of arrays or hybridizations, respectively, you want to include in your analysis, and ends with the configuration of the functions, each pipeline consists of.
| Parameter adjustment and individual configuration:
|
|
Click the "Select Arrays"-Button to specify the arrays or hybridizations, respectively, you want to include.
|
|
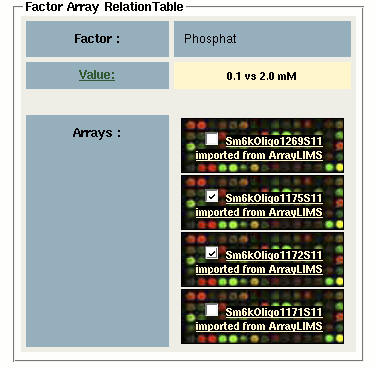
Choose your arrays by clicking on the checkboxes next to array names. And finally return to the analysis pipeline by clicking on the basic action "Select & Return".
|

|
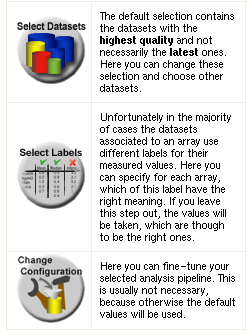
On the right side of the Analysis Arrays page, there's an option to show advanced configuration and data selection dialogs.
|
|
These advanced options give you the possibility to fine-tune your analysis pipeline.
|
|
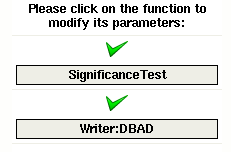
After selecting the "Configure Tool"-Option you will see the functions your pipeline consists of. By clicking on a function name, a new window will open, which allows further parameter adjustments.
|
|
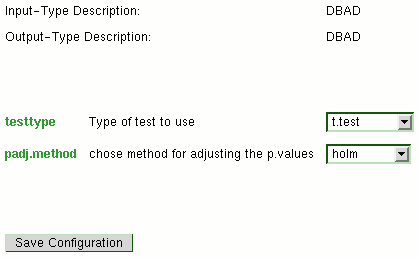
Adjust the parameters of the selected function. This example shows the configuration of the Significance Test. So you could for instance change from the default setting "t.test" to "wilcox.test" significance test.
|


